
HyperLiquid is the fastest-growing decentralized exchange in crypto right now — and you can start trading in under 5 minutes with no KYC, no identity verification, and no gas fees. In this guide, we’ll cover exactly what HyperLiquid is, why it’s different from Binance and Uniswap, and walk you step-by-step through depositing USDC (via Arbitrum) or SOL (via Solana) so you can start trading immediately.
⚠️ Restricted Jurisdictions: HyperLiquid is not available in the US, Canada (Ontario), Russia, Cuba, Iran, Syria, North Korea, and other sanctioned territories. Check the Terms of Use before signing up.
Does HyperLiquid Require KYC? (No — Here’s Why)
No. HyperLiquid does not require KYC (Know Your Customer) verification. Unlike centralized exchanges like Binance, Coinbase, or Kraken — which require passport scans, selfies, and phone verification — HyperLiquid lets you connect a wallet and start trading immediately. No bank account linking. No identity documents. No waiting period.
This is possible because HyperLiquid is a DEX (decentralized exchange) — your funds stay in your own wallet, and trades settle on-chain. There’s no central entity holding your money, which means there’s no legal requirement for identity verification.
What Is HyperLiquid?
An Order Book DEX — Like Binance, But Decentralized
HyperLiquid is a new type of DEX that supports CEX-style order book trading on-chain. Like Binance, it offers both spot trading and leveraged perpetual futures (perps). Unlike AMM-based DEXs like Uniswap and Raydium — where you pay gas fees on every trade and deal with high slippage — HyperLiquid has zero gas fees and deep liquidity.
That’s why it’s called “HYPERLIQUID” — hyper liquidity. It combines the best of CEXs (order books, low fees, deep liquidity) with the best of DEXs (no KYC, non-custodial, on-chain settlement).
HyperLiquid Fees & Discount
HyperLiquid’s trading fees are lower than most CEXs — and there are no gas fees on top. The fee schedule is shown below. Using this referral link gives you a 4% discount on all trading fees.

TL;DR: HyperLiquid gives you CEX-level trading (order books, perps, spot) with DEX-level freedom (no KYC, no gas fees, non-custodial). Connect a wallet and trade in under 5 minutes.
How to Deposit on HyperLiquid (2026)
Getting started looks intimidating — Arbitrum network, USDC bridging — but it’s actually straightforward. Below are two methods: the original USDC (Arbitrum) deposit, and the newer SOL (Solana) deposit that’s even simpler.
What you need:
- A MetaMask wallet (or any Arbitrum-compatible wallet) for USDC Arbitrum Deposit
- or A Solana wallet(Solflare, Phantom, Backpack) for SOL Deposit
- HyperLiquid website (this link includes a 4% fee discount)

Method 1: Deposit USDC via Arbitrum
This is the original deposit method. If you already have USDC on Arbitrum, this is the fastest way.
- Transfer USDC from your exchange to your MetaMask wallet via the Arbitrum network. (If you already have Arbitrum ETH for gas fees)

2. If you don’t have Arbitrum ETH for gas, transfer ETH (not USDC) on the Arbitrum network from your exchange to MetaMask. Keep about $5 worth aside for gas fees, then swap the rest to Arbitrum USDC.
3. Go to the HyperLiquid website (use this link for a 4% fee discount).

4. Click ‘Connect’ in the top right to connect your wallet. Approve the connection in MetaMask.

5. Click ‘Enable Trading.’ This activates gas-free trading and opens the deposit screen.

6. Enter the USDC amount and approve in MetaMask. (Gas cost: ~$0.06 in Arbitrum ETH)
7. Your USDC lands in your perps account, not your spot account.

8. To trade spot, click ‘Transfer to Spot’ and move USDC from perps to spot.

✅ You’re now ready to trade spot on HyperLiquid.
Method 2: Deposit SOL via Solana (Easiest Method — Updated 2025)
HyperLiquid now supports direct SOL deposits from Solana wallets — no Arbitrum bridging needed. This is the easiest way to get started if you already hold SOL.
- Click the Deposit button on the HyperLiquid website.

2. The default Arbitrum USDC deposit screen appears. Click the Asset dropdown (shows “USDC”) to switch assets.

3. Select SOL (Solana) from the dropdown.

4. Copy the Solana deposit address and send SOL from your Phantom, Solflare, or other Solana wallet. ⚠️ Minimum deposit: 0.2 SOL. Anything less will NOT be credited (I tested this — 0.1 SOL was lost).
📌 Direct deposits from centralized exchanges (like Upbit or Coinbase) may not work. Use a personal wallet. Need a Solana wallet? Check our Solana wallet comparison guide.

5. Within ~1 minute, your SOL appears in your spot balance. You can sell it for USDC in the SOL/USDC spot market, then use the USDC to trade other assets or transfer it to your Perps account for leveraged trading.

What Else Can You Do on HyperLiquid?
HyperLiquid isn’t just a perps DEX anymore. Here’s what’s live or launching soon:
- 📈 Perpetual Futures — 100+ pairs with up to 50x leverage, no gas fees
- 📊 S&P 500 & TradFi Indices — trade the S&P 500 with up to 50x leverage, 80% cheaper than standard perp fees. Read our S&P 500 guide →
- 💱 Spot Trading — growing number of tokens tradeable on-chain
- 🎯 HIP-4 Prediction Markets — bet on real-world outcomes (testnet live, mainnet 2026). Read our HIP-4 guide →
- 🪙 HYPE Staking — earn yield on the native HYPE token
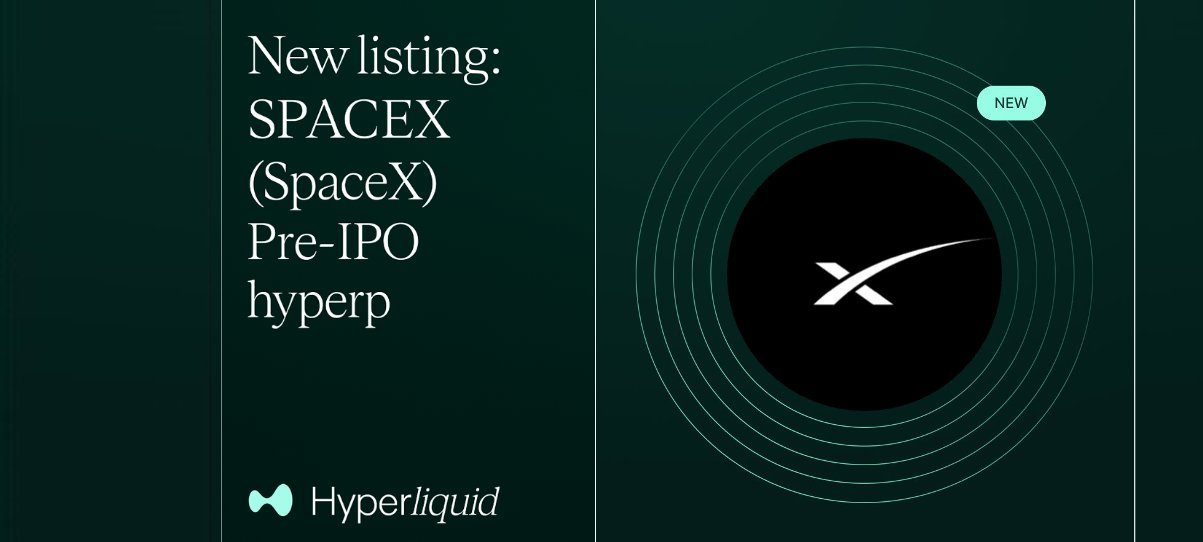
- 🚀 Pre-IPO Futures — trade SpaceX, OpenAI, and Anthropic stock before IPO. Read our SpaceX guide →
*Read about HyperLiquid’s risks and the famous whale liquidation event:
About Coin Ledger Insight
Coin Ledger Insight provides hands-on, battle-tested crypto guides from the trenches of the Korean crypto market. We cover DeFi tools, trading strategies, and platform tutorials that you won’t find in generic crypto content.
Questions? Topics you want us to cover? Drop a comment below. — Author Kim

Leave a Reply